Encountering problems with your Starkey hearing aid charger can be frustrating, but rest assured, most issues are easily resolved. This comprehensive guide is designed to help you troubleshoot common problems and get your device up and running in no time. It applies to all types of Starkey hearing aids, including custom models, behind-the-ear styles, and Receiver-In-Canal (RIC) devices.
This article applies to Starkey Genesis AI (In-the-ear model only), Starkey Evolv AI, and Muse hearing aids.
No LED Indication when Placing Hearing Aids in the Charger
One of the most common issues with the Starkey hearing aid charger involves the lack of an LED indicator light when inserting the hearing aids into the charger.
| Symptom | Potential Reasons | Recommended Actions |
|---|---|---|
| No LED indicator | Incorrect orientation of hearing aids | Ensure that your hearing aids are correctly positioned within the charging port or post. Also make sure that nothing is in between metal contacts and charger. |
| Onboard battery exhaustion | Try plugging the power supply cord into your charger and subsequently into a wall socket. The onboard battery LEDs should light up briefly to confirm a successful power connection. If this fails to occur, get in touch with your hearing healthcare professional for further assistance. |
How to Insert Hearing Aids Correctly
When it comes to correctly positioning your hearing aids in the charger, the process varies slightly based on the type of hearing aid model and charger you are using.
For standard models like Livio, Evolve, or older versions, locate the charging ports on the charger. Place the hearing aids into these ports with the earmolds or earbuds resting comfortably in the specially designed reservoir. This method ensures that the hearing aids are securely positioned and receive the appropriate power supply during charging.
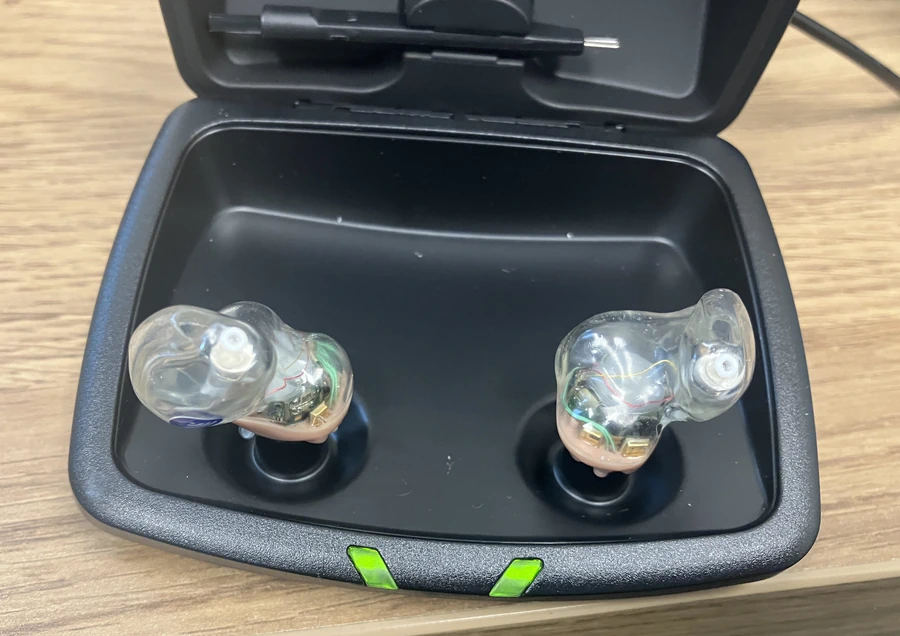
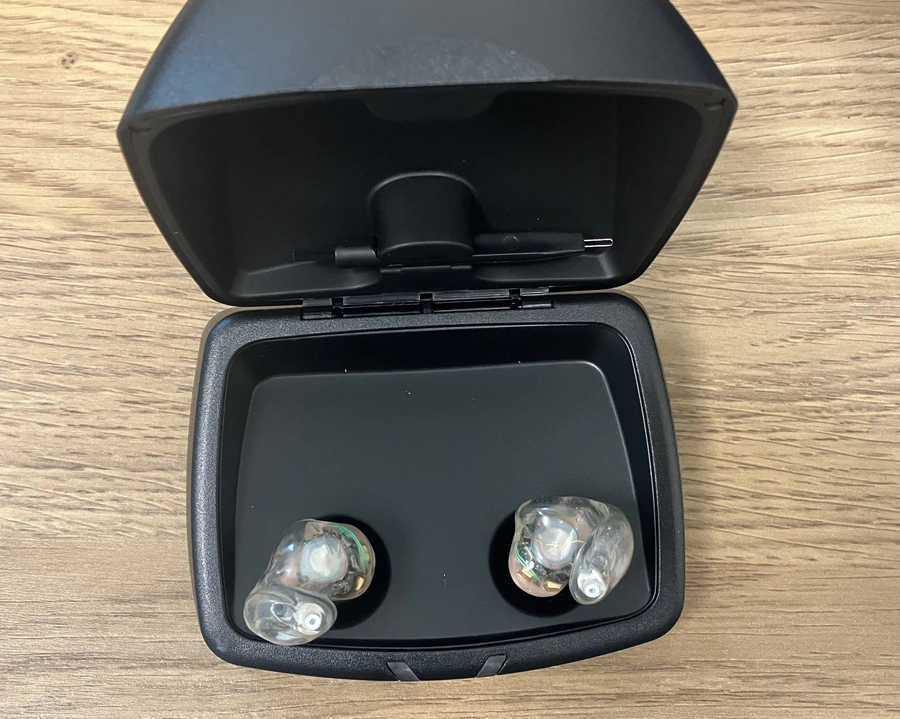
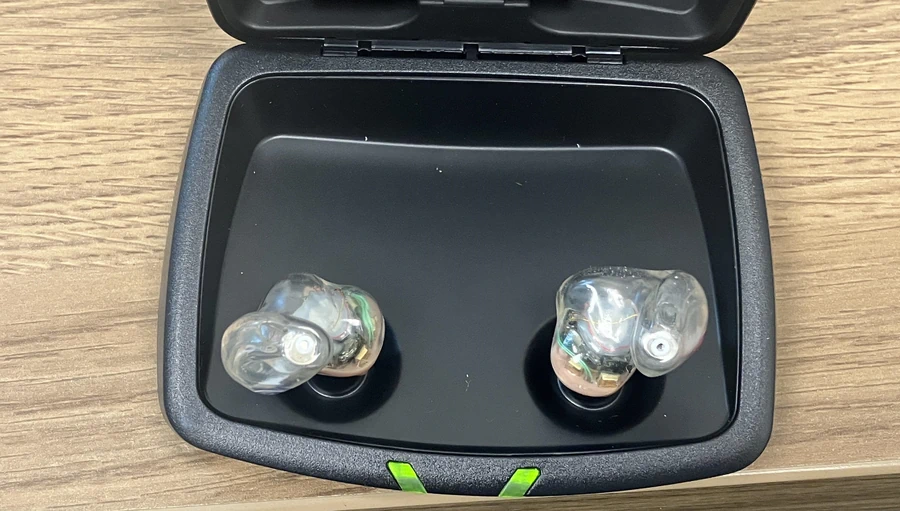
For custom chargers, the placement of the hearing aid differs. You should place the hearing aid with the faceplate facing downward. The faceplate is easy to identify as it is the side of the hearing aid with the golden metal contacts. Once the hearing aid is placed correctly, the charger’s magnetic post will automatically pull the hearing aid into the correct position. Just make sure you place the hearing aid close enough to the magnetic post for this to occur.
By ensuring that you place your hearing aids correctly into the charger, you promote efficient charging and longevity of your devices.
Investigating the Red Blinking LED on the Front of the Charger
A persistent red blinking LED near the charging port or post could be indicative of a problem that requires your attention.Symptom Potential Reasons Recommended Actions Persistent red blinking LED Charger fault Remove the hearing aids from the charging port or post and wait for the LED light to switch off before reinserting them. If the red blinking LED still persists, seek advice from your hearing healthcare provider as either the aid needs to be repaired or you need a new charger.
Pro tip: If only one side is flashing red, place the hearing aid on the opposite charging port. If the hearing aid will charge on the opposite side then it is an issue with the charger and you will likely need a new charger (ask your audiologist for a replacement). If the light turns no matter which side of the charger you use, the aid will need to be sent in for repair back to Starkey.
You will also see yellow lights for a few seconds as the charger comes out of shipping mode when first plugged in.
Decoding the Blinking Green Light on the Charger
The LED indicators on your charger are designed to give you key insights into the status of your hearing aids. A blinking green light on your charger is a positive sign – it indicates that your hearing aids are currently charging correctly.
The amount of time it takes for the hearing aids to fully charge can vary based on their initial battery level. If the hearing aids were completely depleted or ‘dead’, you can expect them to take up to approximately 3.5 hours to regain a full charge.
However, the green light’s behavior will change once the hearing aids are fully charged. When the hearing aids have reached their maximum charge level, the blinking green light will transition to a solid, non-blinking state. This solid green light serves as a clear visual confirmation that your hearing aids are fully charged and ready for use again.
Understanding these light signals can be instrumental in managing the health and longevity of your hearing aids, ensuring they are always ready when you need them.
Dealing with Whistling Sounds from Hearing Aids in the Charger
An unusual whistling sound emanating from the hearing aids while charging can be an annoying issue and it would mean the hearing aids are not charging.
Starkey chargers have an auto-off function, meaning that when aids are charging they automatically turn off the amplification and aids should not whistle. If hearing aids are whistling, it means that they are turned back on and not currently charging.
| Symptom | Potential Reasons | Recommended Actions |
|---|---|---|
| Hearing aids whistling in the charger | Incorrect orientation of hearing aids | Try repositioning your hearing aids in the charging ports or posts. Once correctly placed, the charging LED should start glowing. |
| Onboard battery fully depleted | If the onboard battery is completely exhausted, connect the charger to an external power source. If you don’t have access to the cord, you can switch off the hearing aid by pressing and holding its user control for about three seconds. |
Understanding the Lights on the Back of the Charger
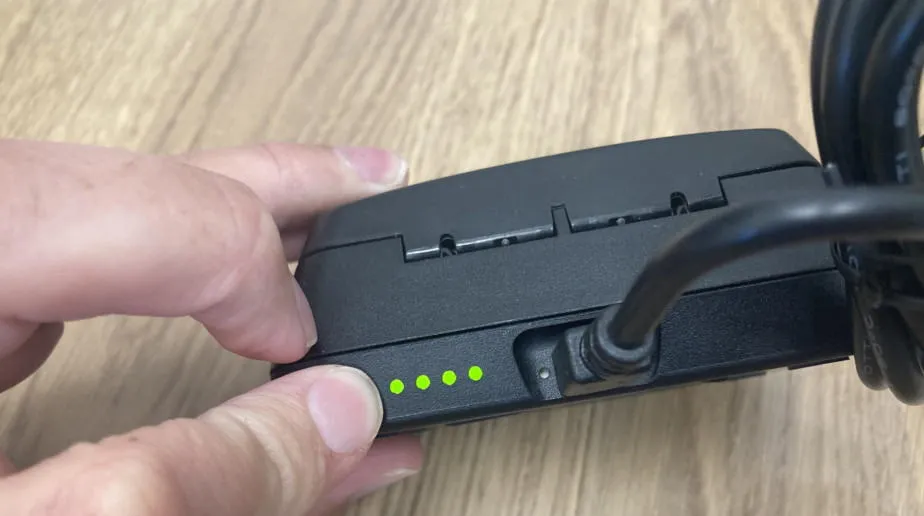
The back of the Starkey hearing aid charger hosts four LED lights. These lights play an important role in indicating the current charge level of the charger’s internal battery. This is especially useful for charging your hearing aids during a power outage or when you prefer to charge the hearing aids without the case being plugged into the wall.
While charging the onboard battery with the power cord, you’ll observe the behavior of these four LEDs:
- They will glow during the charging process.
- They will transition to a solid state when the battery is fully charged.
If you’re charging the hearing aids without the power cord attached, these LEDs will switch off after 10 seconds to conserve power. If you wish to check the battery status in this mode, simply remove a hearing aid from its charging port or post for three seconds and then reinsert it. This will cause the LEDs to light up for 10 seconds before they switch off again.
These LEDs also provide a clear indication of the remaining battery charge:
- 4 solid LEDs indicate that the battery charge is more than 75%.
- 3 solid LEDs indicate that the battery charge is less than 75% but more than 50%.
- 2 solid LEDs show that the battery charge is less than 50% but more than 25%.
- 1 solid LED implies that the battery charge is less than 25%.
- 1 blinking LED signifies that the battery charge is low and needs to be recharged.