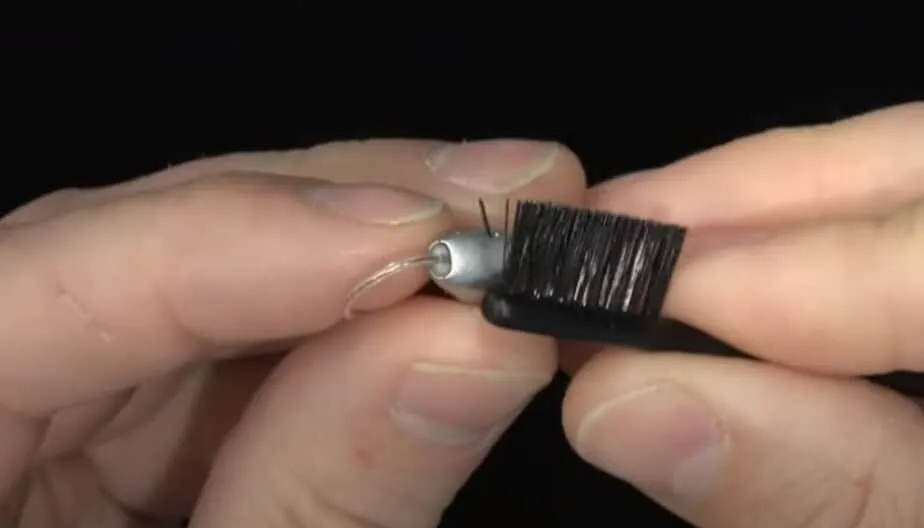
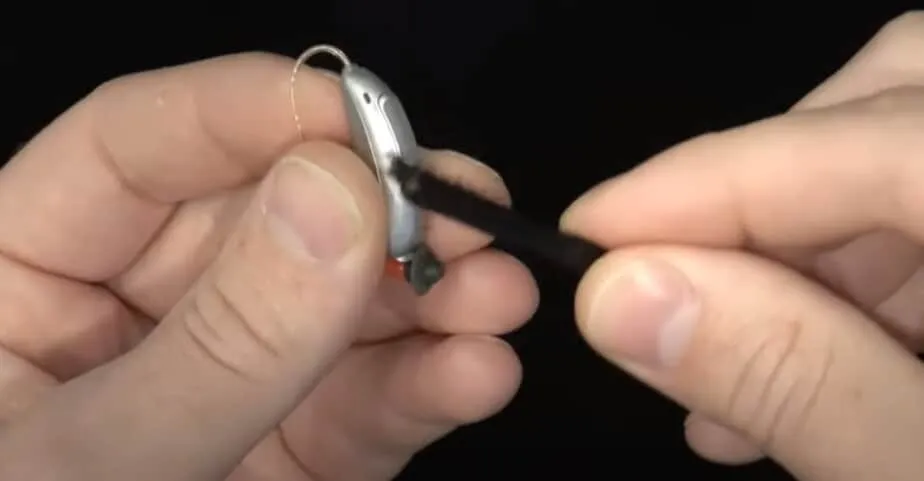
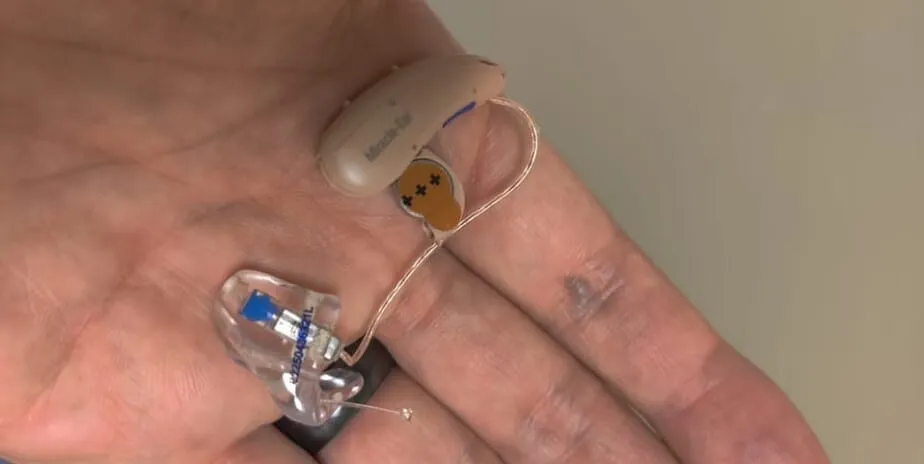
Using a brush to clean the microphone on your hearing aid is a simple and effective way to remove debris and earwax that may have accumulated on the device. Here are a few steps you can take to use a brush to clean the microphone on your hearing aid:

- Turn off the hearing aid: Before cleaning the microphone, make sure that the hearing aid is turned off.
- Find a soft brush: Use a soft brush, such as a toothbrush or a hearing aid cleaning brush, to gently clean the microphone. Buy one here on Amazon. Be sure to choose a brush with soft bristles that will not damage the device.
- Gently brush the microphone: Hold the brush against the microphone and gently brush in a circular motion. Be sure to remove any debris or earwax that may have accumulated on the surface.
- Check for debris: Use the brush to gently brush around the microphone and check for any debris that may have accumulated inside the device.
- Clean the exterior of the hearing aid: Once you have finished cleaning the microphone, use the brush to gently clean the exterior of the hearing aid. Be sure to remove any debris or earwax that may have accumulated on the surface.
- Dry the hearing aid: Once you have finished cleaning the hearing aid, use a dry cloth or a soft brush to gently dry the device.

It is important to not use water or any cleaning solutions when cleaning the hearing aid. This can cause damage to the device and affect its performance. Also, it’s advisable to avoid using cotton swabs or any other tools that can insert into the hearing aid as this can push any debris further inside the device.
If you are unable to clean the microphone properly or if you notice that the hearing aid is still not working properly after cleaning, it’s recommended that you contact a hearing healthcare professional for further assistance. Go to the location where you bought the hearing aids or if you need a new audiologist, find one on the zip hearing website. The audiologist will be able to determine the cause of the issue and provide any necessary repairs or maintenance.
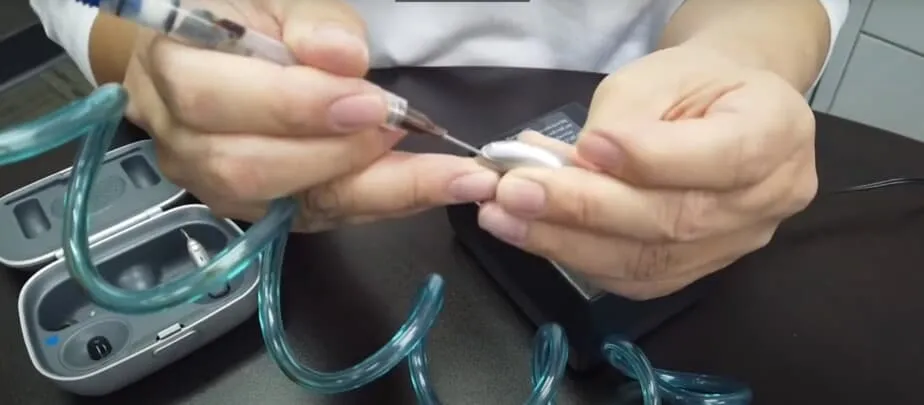
Clean Your Hearing Aids like a Professional Using a Jodi-Vac for Suction
Cleaning your hearing aid with a Jodi-Vac is a quick and easy way to remove earwax and debris that may have accumulated on the device. A vacuum does an even better job than a brush. A Jodi-Vac is the tool of choice that most audiologists use. You can buy your own on Amazon (affiliate link). Here are a few steps you can take to use a Jodi-Vac to clean your hearing aid:

- Turn off the hearing aid: Before cleaning the hearing aid, make sure that the device is turned off.
- Attach the Jodi-Vac tip: Attach the Jodi-Vac tip to the Jodi-Vac device. The Jodi-Vac tip is specially designed to remove earwax and debris from hearing aids.
- Apply the Jodi-Vac tip to the hearing aid: Hold the hearing aid in one hand and the Jodi-Vac in the other. Gently apply the Jodi-Vac tip to the hearing aid, being careful not to insert the tip too far into the device.
- Turn on the Jodi-Vac: Turn on the Jodi-Vac device and let it run for a few seconds. The Jodi-Vac will remove earwax and debris from the hearing aid.
- Check for debris: Use the Jodi-Vac to gently check for any debris that may have accumulated inside the device.
- Clean the exterior of the hearing aid: Once you have finished cleaning the hearing aid, use the Jodi-Vac to gently clean the exterior of the device.
- Dry the hearing aid: Once you have finished cleaning the hearing aid, use a dry cloth or a soft brush to gently dry the device.
It is important to note that, the Jodi-Vac is a powerful cleaning tool, it’s essential that you use it with caution to avoid damaging the hearing aid.

