Written by Jonathan Javid, Au.D. — Audiologist with 14 years of experience helping more than 10,000 patients care for their hearing aids.
Introduction
Hearing aids are a major investment in your health and independence. But just like glasses, contact lenses, or any medical device, they require regular care and occasional repairs to keep working at their best.
Neglecting simple steps — such as cleaning domes, replacing wax guards, or protecting them from moisture — can shorten their lifespan and lead to costly repairs. On the other hand, consistent maintenance can extend hearing aid life to 5–7 years or more.
This comprehensive guide covers everything: cleaning, part replacements, battery care, troubleshooting, seasonal tips, and when to call your audiologist. It links to in-depth tutorials across HearingInsider.com, so you always have expert-backed instructions at hand.
How Do I Clean Hearing Aids at Home?
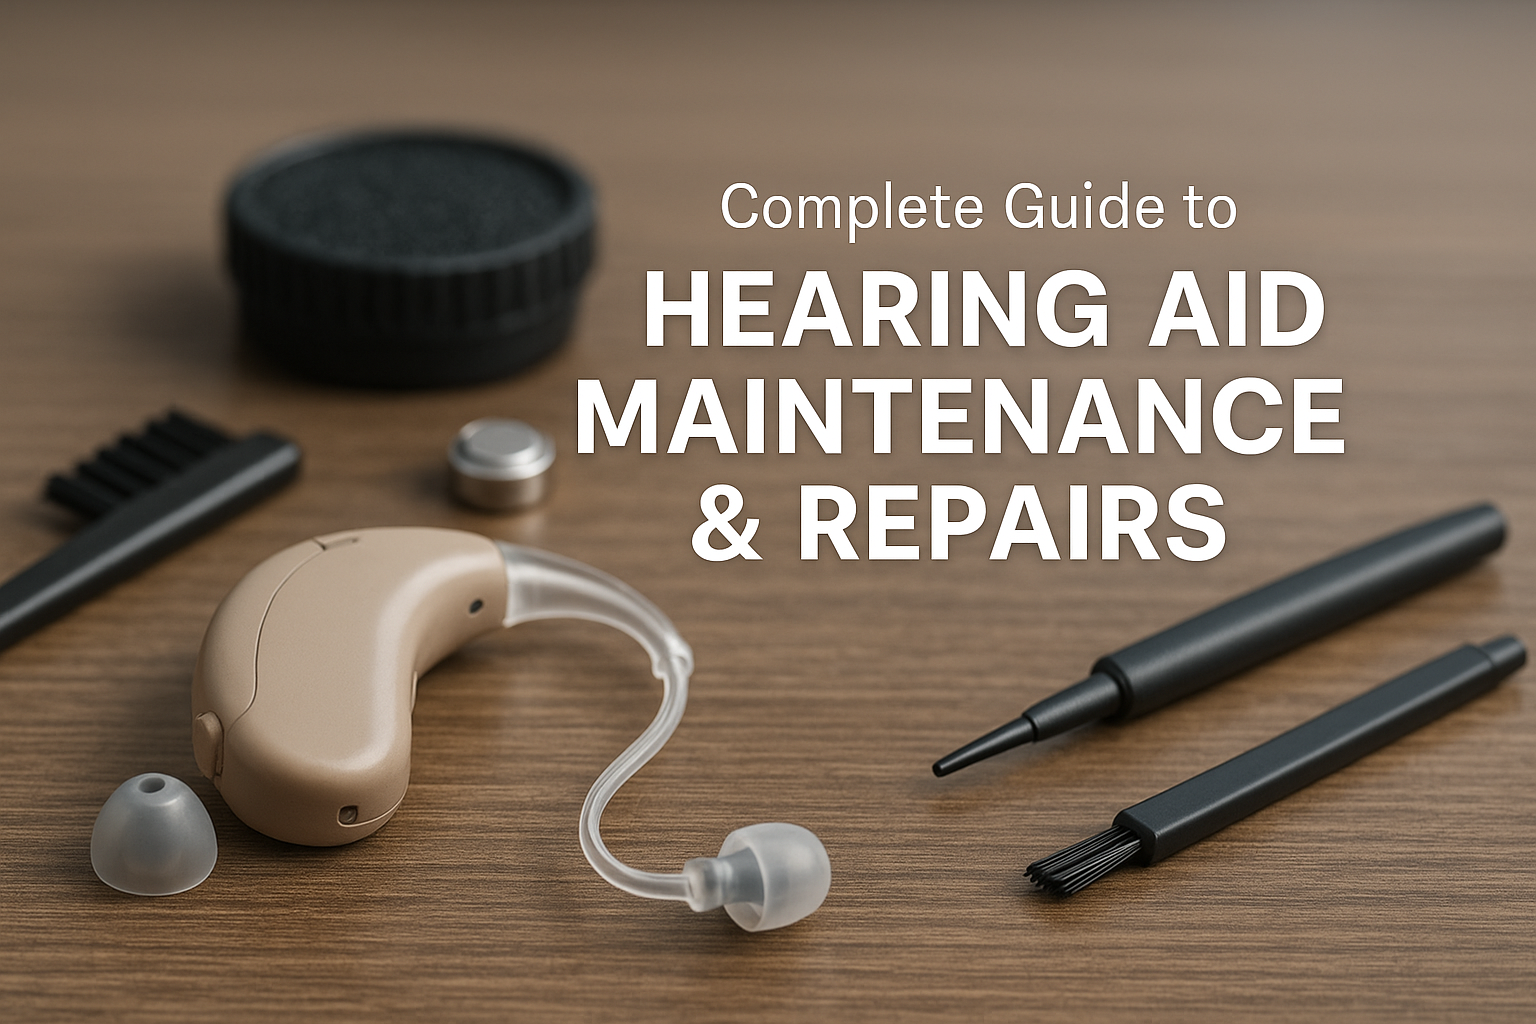
Daily cleaning is the foundation of hearing aid care. Just as brushing teeth prevents cavities, wiping and brushing your aids prevents wax and dust buildup that muffles sound.
- Domes: How to Clean a Hearing Aid Dome – Domes sit deep in the ear canal and are magnets for wax. A quick wipe each night keeps them clear.
- Microphones: Cleaning Hearing Aid Microphones – Dust and debris clog ports, causing “weak” sound.
- Ear Drops: Are Ear Drops Safe with Hearing Aids? – Some drops coat domes and damage electronics. Learn which are safe.
Step-by-Step: Daily Cleaning Routine
- Wash and dry your hands.
- Remove the dome (if detachable).
- Wipe dome and shell with a dry lint-free cloth.
- Brush microphones with a soft cleaning brush.
- Check wax guard and replace if clogged.
- Store in a drying kit overnight.
Case Example
A patient complained their hearing aid “sounded like it was under a blanket.” We found wax clogging both the dome and microphone. After a 2-minute clean, the sound was crisp again — no repair necessary.
When Should I Replace Domes, Tubing & Wax Traps?
Hearing aids rely on consumable parts that wear out over time. Changing them on schedule prevents performance drops.
- Changing Tubing, Domes, and Wax Traps
- Are All Wax Traps the Same?
- Dome Removal Tools
- Making Domes More Comfortable
Replacement Frequency
| Component | How Often to Replace | Signs of Wear | DIY or Audiologist? |
|---|---|---|---|
| Domes | Every 2–3 months | Loose fit, discoloration, irritation | DIY |
| Wax Guards | Every 1–2 months | Muffled or no sound | DIY |
| Tubing (BTE aids) | Every 6–12 months | Stiffness, yellowing, cracks | DIY or Audiologist |
Tip: If sound is weak in just one ear, check the wax guard first — it’s the #1 cause of “dead” hearing aids.
Moisture Protection & Longevity
Moisture is the leading cause of hearing aid breakdowns. Sweat, condensation, and humidity corrode microphones and receivers.
Seasonal Moisture Risks
- Summer: Sweat and sunscreen clog domes. Always wipe after activity.
- Winter: Moving from cold to warm causes condensation inside tubing. Use a dry aid kit nightly.
- Travel: Airplane humidity and tropical climates require extra drying time.
External Resource
The Hearing Loss Association of America (HLAA) stresses daily drying to prevent costly failures (HLAA Guide).
Hearing Aid Battery Care & Troubleshooting
Batteries keep your devices running, but both zinc-air and rechargeable models have unique quirks.
- Do Hearing Aid Batteries Expire?
- Why One Hearing Aid Battery Dies Before the Other
- Rechargeable Battery Draining Too Fast
Disposable vs Rechargeable: Maintenance Comparison
| Feature | Zinc-Air (Disposable) | Lithium-ion (Rechargeable) |
|---|---|---|
| Shelf Life | Up to 3 years (sealed) | 3–5 years usable lifespan |
| Daily Care | Open door at night | Charge overnight |
| Common Problems | Sticker removed too soon = drain | Gradual loss of capacity in year 3–5 |
Case Example
One patient’s rechargeable drained in 6 hours. After inspection, we discovered moisture on the charging contacts — not a failing battery. Cleaning the contacts restored a full day’s charge.
Signs Your Hearing Aid Needs Professional Repair
Some issues can’t be solved with cleaning or part swaps. Watch for these warning signs:
- Distorted or “static-like” sound
- No response even with new batteries or charging
- Constant feedback (whistling) despite correct fit
- Physical damage: cracked shell, broken receiver wire
- Moisture inside the battery compartment
If you notice these, schedule service. Attempting to fix electronics yourself can void warranties.
Repair Costs, Warranties & Insurance
Repairs vary by severity:
| Repair Type | Typical Cost (Out of Warranty) | Covered by Warranty? |
|---|---|---|
| Dome / Wax Guard | $0–$10 | Not usually |
| Receiver Replacement | $75–$150 | Covered 1–3 years |
| Microphone Replacement | $100–$250 | Covered 1–3 years |
| Shell Replacement | $200–$300 | Covered 1–3 years |
| Full Device Repair | $300–$400 | Covered only in warranty |
- Manufacturer warranties usually cover internal failures (not moisture or loss).
- Extended warranties vary — read carefully before purchasing.
- For more details: Cost of Hearing Aid Repair.
Can I Repair Hearing Aids Myself?
Some tasks are safe DIY, but others require professional tools.
Safe DIY Repairs:
- Cleaning domes & microphones
- Replacing wax guards, domes, tubing
- Using drying kits
- Battery swaps
Audiologist Repairs:
- Receiver, microphone, shell replacements
- Internal moisture damage
- Reprogramming or firmware updates
External Resource
The FDA warns against opening hearing aids yourself, as it can void warranties and damage components (FDA Hearing Aid Guidance).
Pro Tips from an Audiologist
- Clean your aids nightly with a brush and cloth.
- Always keep backup domes and wax guards on hand.
- Avoid applying hairspray, sunscreen, or lotion while wearing aids.
- Store in a drying box overnight.
- Schedule an annual deep clean and programming check with your audiologist.
Conclusion
Your hearing aids are more than devices — they’re lifelines to communication. With consistent care, they can last years, provide clear sound, and reduce the need for costly repairs.
Use this guide as your one-stop resource for hearing aid cleaning, troubleshooting, and repairs. When in doubt, reach out to your audiologist — a quick professional cleaning or adjustment often prevents major issues.
About the Author
Jonathan Javid, Au.D., is a clinical audiologist with over 14 years of experience in the Department of Veteran Affairs and private practice. He has personally fit and maintained hearing aids for more than 10,000 patients. Jonathan also runs HearingInsider.com, where he shares expert-backed advice to help patients get the most from their hearing technology.

